Choose tile flooring based on room function, budget, and maintenance preferences for lasting beauty and durability.
Use our live calculator below to get your exact tile cost in seconds.
Types of Tile Flooring
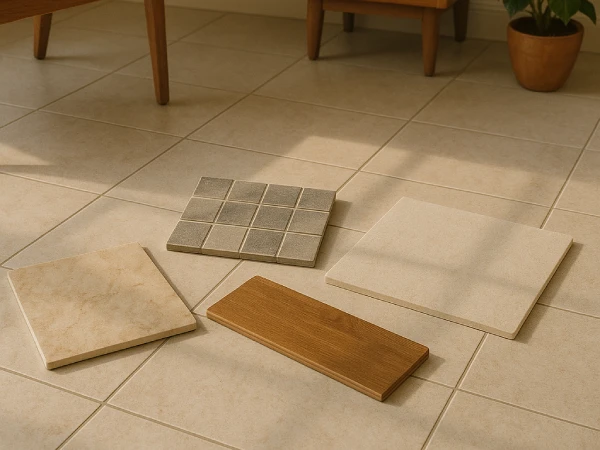
Ceramic Tiles
Ceramic tiles are made from clay and other natural materials, fired at high temperatures. They're known for their:
- Affordability
- Wide range of colors and patterns
- Ease of maintenance
Ceramic tiles are best suited for indoor applications with low to moderate foot traffic, such as bathrooms and kitchens.
Porcelain Tiles
Porcelain tiles are a denser, more durable option made from refined clay fired at higher temperatures. Their key features include:
- Exceptional durability and water resistance
- Suitability for high-traffic areas and outdoor use
- Resistance to scratches and stains
While more expensive than ceramic, porcelain tiles offer superior performance and longevity.
Natural Stone Tiles
Natural stone tiles, such as marble, granite, and slate, provide a luxurious and unique look. Each tile is one-of-a-kind, adding a touch of elegance to any space. However, they require more maintenance and are generally more expensive.
Pros and Cons of Tile Flooring
Before making a decision, consider the advantages and disadvantages of tile flooring:
Pros:
- Durable and long-lasting
- Water and stain-resistant
- Easy to clean and maintain
- Wide variety of styles and colors
- Eco-friendly options available
Cons:
- Hard and cold underfoot
- Can be slippery when wet
- Grout lines can be difficult to clean
- Installation can be labor-intensive
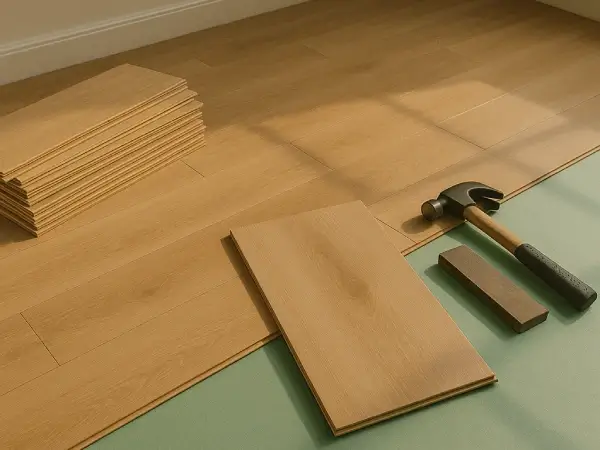
Installation Process
Proper installation is key to ensuring your tile flooring lasts. Here's a simplified overview of the process:
-
Step 1: Prepare the Subfloor
Ensure the subfloor is clean, level, and free of debris. Any imperfections can cause tiles to crack over time.
-
Step 2: Plan the Layout
Measure the room and plan your tile layout to ensure a balanced and visually appealing result. Start from the center of the room and work your way out.
-
Step 3: Apply Thinset and Install Tiles
Spread a layer of thinset mortar and carefully place each tile, using spacers to maintain even grout lines.
-
Step 4: Grout and Seal
After the thinset has cured, apply grout to fill the gaps between tiles. Once the grout is dry, apply a sealer to protect against stains and moisture.
Maintenance Guide
To keep your tile floors looking their best, follow these simple maintenance tips:
- Sweep or vacuum regularly to remove dirt
- Mop with a pH-neutral cleaner
- Clean up spills promptly to prevent staining
- Reseal grout lines as needed to maintain water resistance
Cost Analysis
The cost of tile flooring varies depending on the material and installation complexity. Use our free tile calculator to get an accurate estimate for your project and compare costs between different types of tiles.
Final Thoughts
Choosing the right tile flooring is a significant decision that can enhance the beauty and functionality of your home. By considering the types of tiles, their pros and cons, and proper installation and maintenance, you can select a flooring solution that you'll love for years to come.

Comments
Loading comments...
Leave a Comment